Video – Write in the scene

#accordions-593{display: none;}
#accordions-593 {
text-align: left;
}
#accordions-593{
background: url() repeat scroll 0 0;
padding: 0;
}
#accordions-593 .accordions-head{
background:rgba(129,215,66, 1) none repeat scroll 0 0;
margin:1px;
padding:10px;
}
#accordions-593 .accordions-head-title{
color:#ffffff;
font-size:14px;
font-family:;
}
#accordions-593 .accordions-head-title-toogle{
color:#ffffff;
font-size:14px;
}
#accordions-593 .accordions-head:hover .accordions-head-title{
color:#000;
}
#accordions-593 .ui-state-active{
background: #4b8fe3;
}
#accordions-593 .accordion-content{
background:rgba(255,255,255,1) none repeat scroll 0 0;
color:#333333;
font-size:13px;
font-family:;
margin:0;
padding:10px;
}
#accordions-593 .accordion-icons{
color:#565656;
font-size:16px;
}
#accordions-593 .accordions-head:hover .accordion-icons{
color:#999;
}
#accordions-593{}
#accordions-593 .accordions-head{}
#accordions-593 .accordion-content{}
Good evening.
In order to cook an omelet you must execute specific steps in the right row.
First you have to buy the eggs then break them, shuffle them into the cookware etc.
These steps must be done in a row without being mixed up. Each step will be executed after the previous one is completed.
This is the function and sequence structure in computer programming.
I’ll let Stevie describe it in more details.
Hello,
When you want to create a scenario in scratch or in any other programming
language, you should think of the steps that will be carried out in a row, one after the other.
Instructions are executed in a row. Each instruction is executed after the completion of the previous one.
Let’s have an example.
Let me show you the program I have prepared for this reason (finger clapping).
I also need a way to get into the screen… (fingers clapping)
In this scenario assigned to the scratch cat as you see, are mainly used instructions from the pallet “Motion” and “Pen”.
The “Pen” palette has instructions which allow the sprite to draw patterns in the stage.
Note how the instructions run one after the other in a sequence.
Note how each instruction is executed after the previous one has finished running.
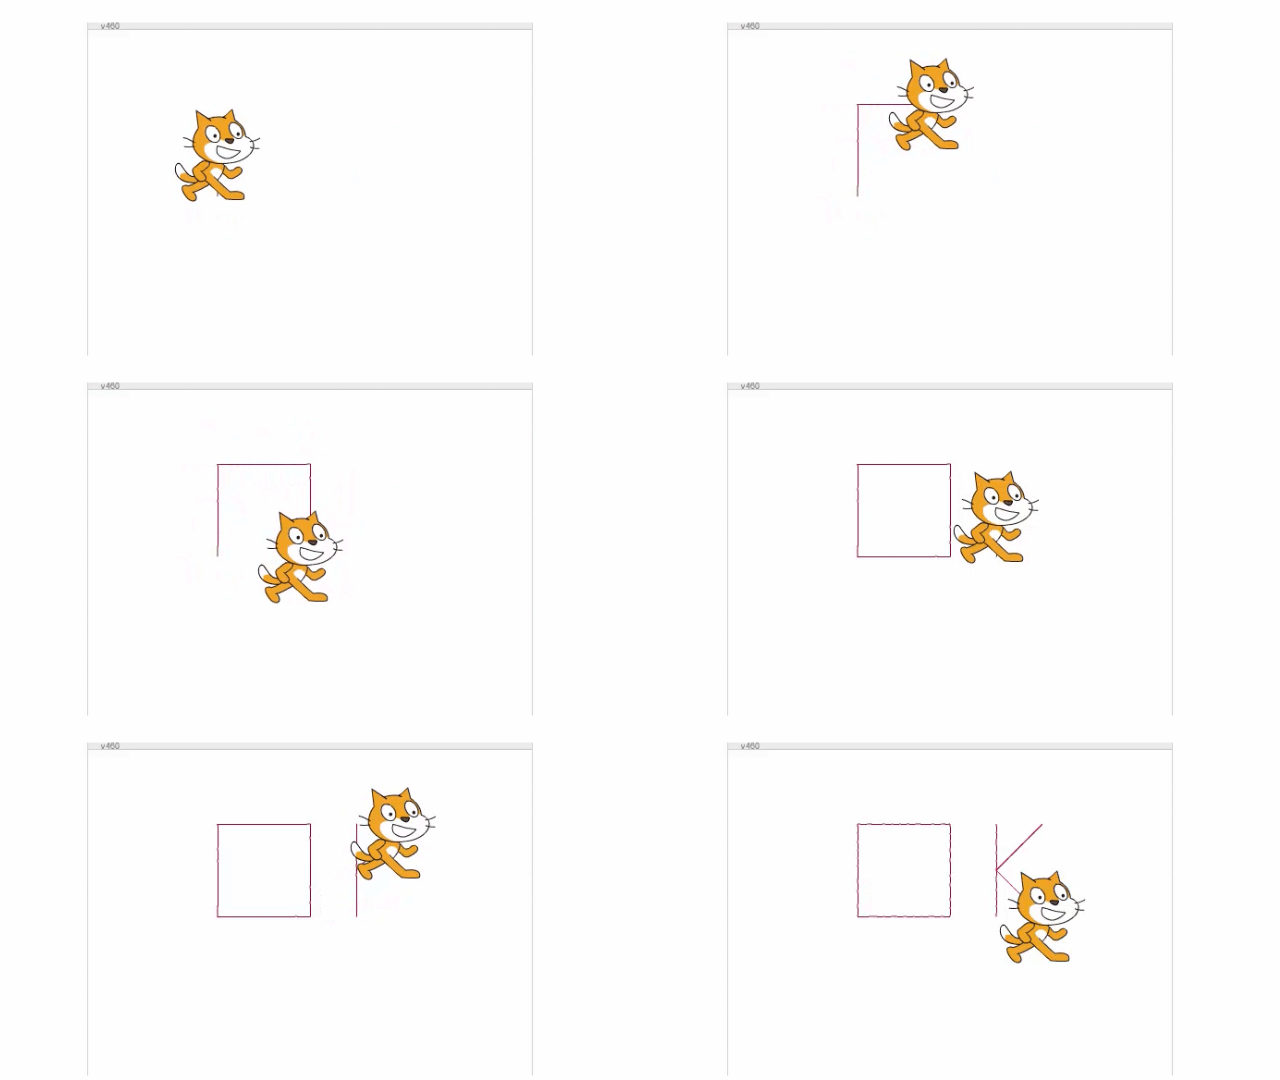
With this scenario, the cat creates a gray square.
Let’s run the script to see the result in the stage.
Let’s run the script again step by step in order to understand what each instruction does exactly.
I will move the cat here and modify its size.
Just run the first instruction now. You see how the cat’s size restores at the one we set up.
There is no result when executing the 2nd order.
What happened was that we raised the pen so that the cat did not draw when it moved.
If we had not executed this command then the cat would draw each time it moved to the original square position.
So take a look..
Once the pen has been raised, the command “clear” will be executed so that any old drawing is erased and then the command that moves the sprite to the start position for the square design.
With the instruction “pen down” nothing seems to be done.
But we know that the next move will leave its trace.
With the next instruction we define the color of the pen.
With the next 4 instructions, we create the square …
